

Introduction
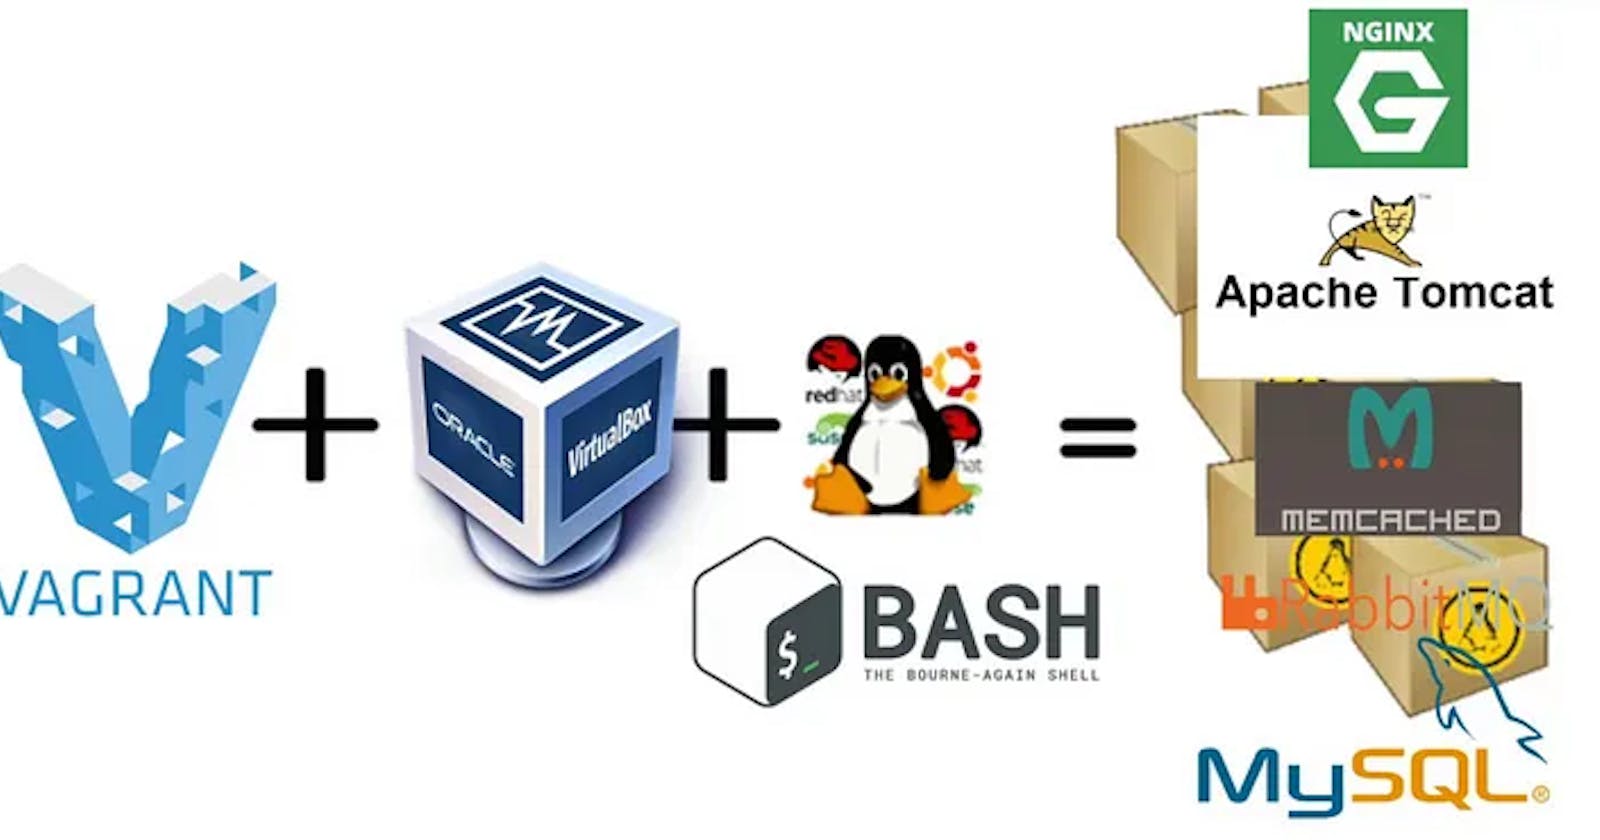
In our previous article, we explored the manual setup of a local multi-tier web application—a valuable learning experience for understanding the intricate workings of services like Nginx, Memcached, RabbitMQ, and databases. Now, we're leaping forward by automating this setup, making it more efficient and convenient.
Prerequisite
Before you begin with the automated setup, make sure you have the following prerequisites in place:
Vagrant: Ensure you have Vagrant installed on your system. You can download it from Hashicorp.
Virtualization Software: Depending on your operating system, you'll need virtualization software like VirtualBox or VMware Desktop. But for this tutorial, VirtualBox from Oracle is what we are using.
Git: You'll need Git to clone our project repository. If you don't have Git installed, you can download it from https://git-scm.com/downloads.
GitHub Account: If you plan to fork and contribute to our project, you'll need a GitHub account. You can create one at [github.com](http://github.com)\.
IDE: There are multiple IDEs out there like Visual Studio Code (VSCode), IntelliJ IDEA, Eclipse, and others. However, I highly recommend using Visual Studio Code (VSCode) as it's known for its ease of use and extensive support for various programming languages and extensions.
Getting Started
First things first, head over to our GitHub repository at [github.com/hkhcoder/vprofile-project](https://github.com/hkhcoder/vprofile-project)](http://github.com/hkhcoder/vprofile-project). Inside the repository, you'll find two directories, Automated_provisioning_WinMacIntel and Automated_provisioning_MacOSM1. Choose the one that matches your system.
For Windows Users
If you're running a Windows machine, navigate to the Automated_provisioning_WinMacIntel directory.
cd Automated_provisioning_WinMacIntel
Automation Script for Windows Users
Vagrant.configure("2") do |config|
  config.hostmanager.enabled = true
  config.hostmanager.manage_host = true

### DB vm  ####
  config.vm.define "db01" do |db01|
    db01.vm.box = "eurolinux-vagrant/centos-stream-9"
    db01.vm.hostname = "db01"
    db01.vm.network "private_network", ip: "192.168.56.15"
    db01.vm.provider "virtualbox" do |vb|
     vb.memory = "600"
   end
    db01.vm.provision "shell", path: "mysql.sh"

  end

### Memcache vm  ####
  config.vm.define "mc01" do |mc01|
    mc01.vm.box = "eurolinux-vagrant/centos-stream-9"
    mc01.vm.hostname = "mc01"
    mc01.vm.network "private_network", ip: "192.168.56.14"
    mc01.vm.provider "virtualbox" do |vb|
     vb.memory = "600"
   end
    mc01.vm.provision "shell", path: "memcache.sh"
  end

### RabbitMQ vm  ####
  config.vm.define "rmq01" do |rmq01|
    rmq01.vm.box = "eurolinux-vagrant/centos-stream-9"
  rmq01.vm.hostname = "rmq01"
    rmq01.vm.network "private_network", ip: "192.168.56.16"
    rmq01.vm.provider "virtualbox" do |vb|
     vb.memory = "600"
   end
    rmq01.vm.provision "shell", path: "rabbitmq.sh"
  end

### tomcat vm ###
   config.vm.define "app01" do |app01|
    app01.vm.box = "eurolinux-vagrant/centos-stream-9"
    app01.vm.hostname = "app01"
    app01.vm.network "private_network", ip: "192.168.56.12"
    app01.vm.provision "shell", path: "tomcat.sh"
    app01.vm.provider "virtualbox" do |vb|
     vb.memory = "800"
   end
   end


### Nginx VM ###
  config.vm.define "web01" do |web01|
    web01.vm.box = "ubuntu/jammy64"
    web01.vm.hostname = "web01"
  web01.vm.network "private_network", ip: "192.168.56.11"
#  web01.vm.network "public_network"
  web01.vm.provider "virtualbox" do |vb|
     vb.gui = true
     vb.memory = "800"
   end
  web01.vm.provision "shell", path: "nginx.sh"
end

end
For Mac Users
For Intel-based Macs
If you're running a Mac machine with an Intel processor, navigate to the Automated_provisioning_MacOSM1 directory.
cd Automated_provisioning_MacOSM1
Automation Script for Mac (Intel) Users
Vagrant.configure("2") do |config|
  config.hostmanager.enabled = true
  config.hostmanager.manage_host = true

### DB vm  ####
  config.vm.define "db01" do |db01|
    db01.vm.box = "jacobw/fedora35-arm64"
    db01.vm.hostname = "db01"
    db01.vm.network "private_network", ip: "192.168.56.25"
    db01.vm.provision "shell", path: "mysql.sh"

  end

### Memcache vm  ####
  config.vm.define "mc01" do |mc01|
    mc01.vm.box = "jacobw/fedora35-arm64"
    mc01.vm.hostname = "mc01"
    mc01.vm.network "private_network", ip: "192.168.56.24"
    mc01.vm.provision "shell", path: "memcache.sh"
  end

### RabbitMQ vm  ####
  config.vm.define "rmq01" do |rmq01|
    rmq01.vm.box = "jacobw/fedora35-arm64"
  rmq01.vm.hostname = "rmq01"
    rmq01.vm.network "private_network", ip: "192.168.56.23"
    rmq01.vm.provision "shell", path: "rabbitmq.sh"
  end

### tomcat vm ###
   config.vm.define "app01" do |app01|
    app01.vm.box = "jacobw/fedora35-arm64"
    app01.vm.hostname = "app01"
    app01.vm.network "private_network", ip: "192.168.56.22"
    app01.vm.provision "shell", path: "tomcat.sh"
    app01.vm.provider "vmware_desktop" do |vb|
     vb.memory = "1024"
   end
   end


### Nginx VM ###
  config.vm.define "web01" do |web01|
    web01.vm.box = "spox/ubuntu-arm"
    web01.vm.hostname = "web01"
  web01.vm.network "private_network", ip: "192.168.56.21"
  web01.vm.provision "shell", path: "nginx.sh"
end

end
Provisioning VMs
Before we dive into the automated setup process, let's take a moment to understand what's happening under the hood.
We'll use Vagrant, a powerful tool for managing virtualized development environments. Each VM (Virtual Machine) corresponds to a different component of our multi-tier web application:
db01for the databasemc01for Memcachedrmq01for RabbitMQapp01for our Java applicationweb01for Nginx
In each VM definition, you'll find details like the base box, hostname, IP address, and provisioning script. These scripts install and configure the necessary software for each component.
Let's Get Automated
Now, it's time to automate the setup. Open your terminal, navigate to the appropriate directory, and run the following command:
vagrant up
Bringing machine 'db01' up with 'virtualbox' provider...
Bringing machine 'mc01' up with 'virtualbox' provider...
Bringing machine 'rmq01' up with 'virtualbox' provider...
Bringing machine 'app01' up with 'virtualbox' provider...
Bringing machine 'web01' up with 'virtualbox' provider...
Be patient; this process may take 20-25 minutes as it provisions all the VMs.
Our VMs are ready in VirtualBox.

Validating the Setup
Once the provisioning is complete, you can validate the setup.
Accessing the Application
Open your web browser and enter the following URL:
We can validate the application using the hostname given in Vagrantfile. Go to browser http://192.168.56.11. Frontend is working successfully. We can log in using the same username as the password.

- Backend services are also up/running.

We can validate the RabbitMq service.

Next, we can check our DB/Memcache services.


Halting and Cleaning Up
When you're done experimenting, use the following command to halt the VMs:
vagrant haltTo check the status of your VMs:
vagrant statusIf you want to remove all VMs and their associated resources:
vagrant destroyConclusion
Automating the setup of a local multi-tier web application streamlines the process, making it more accessible and efficient. By using Vagrant and these automated scripts, you've eliminated the need for manual configuration. Now, you can focus on building and testing your web application without the hassle of setting up the infrastructure.
Happy coding!